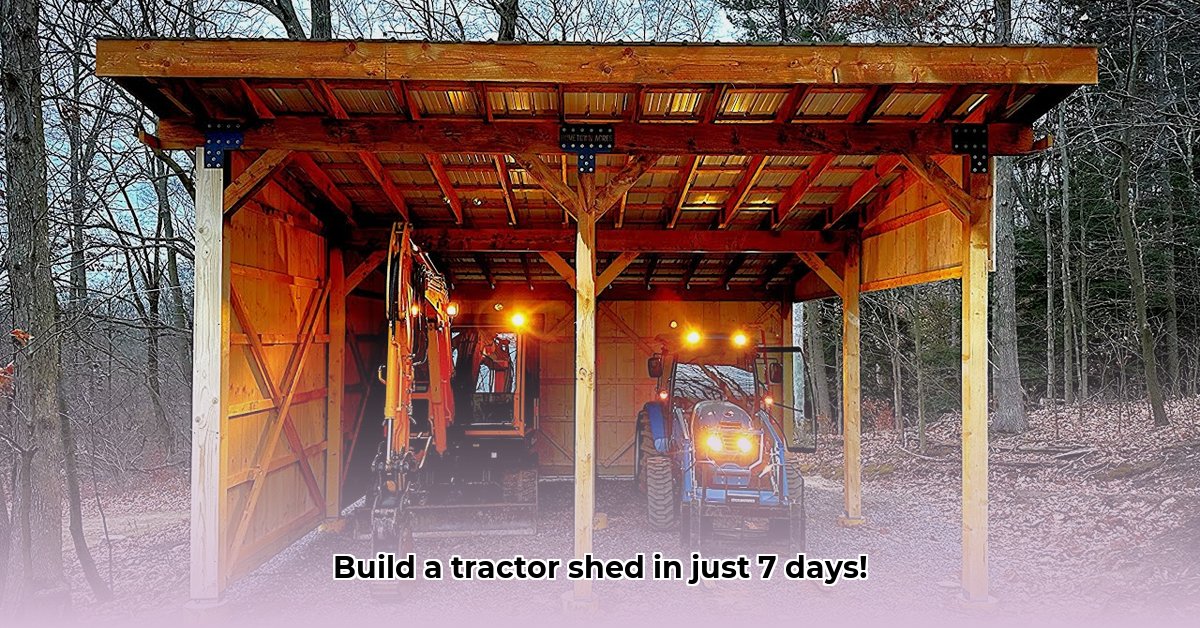
Are you tired of your tractor enduring the elements? Yearning for a simple, affordable shelter to safeguard your investment? This comprehensive guide provides two distinct pathways to build your own tractor shed within a week. We'll detail each step, from material selection to final construction, ensuring a successful project regardless of your DIY experience level. Learn to build either a quick lean-to or a sturdy freestanding structure – saving you money and protecting your valuable equipment. For additional DIY project inspiration, check out these helpful resources.
Two Routes to Tractor Haven: Lean-To vs. Freestanding Shed
This guide offers two approaches to building your tractor shed, catering to diverse skillsets and budgets. The lean-to offers a rapid, budget-friendly solution, while the freestanding structure provides superior protection and customization. Choosing the right method depends on your tractor's size, your available space, and your DIY comfort level. Which approach best suits your needs?
The Speedy Lean-To: A Weekend Project for Beginners
This design is perfect for smaller tractors and those seeking a quick, affordable shelter. It’s essentially a roofed extension attached to an existing wall or structure.
Materials List:
- Pressure-treated lumber (4x4 posts, 2x6 ledger boards, 2x4 rafters) (lumber resistant to rot and insect damage)
- Plywood sheathing (¾" or thicker for durability)
- Galvanized screws and nails (rust-resistant fasteners)
- Roofing felt (waterproof underlayment)
- Chosen roofing material (e.g., metal roofing, asphalt shingles)
- Concrete mix (optional, for stronger post bases)
Step-by-Step Instructions:
- Site Assessment: Carefully inspect the existing structure for sturdiness. Reinforce if necessary. Ensure sufficient support for the lean-to's weight.
- Post Installation: Attach pressure-treated 4x4 posts using strong anchors, ensuring perfect verticality (plumb) and levelness. Concrete footings are highly recommended for stability.
- Ledger Board Attachment: Securely fasten 2x6 ledger boards across the tops of the posts, attaching them to both the posts and the existing structure. Maintain levelness.
- Rafter Framework: Attach 2x4 rafters to the ledger boards, spacing them appropriately for your roofing material. Slight overlapping enhances strength.
- Plywood Sheathing: Securely fasten plywood sheets to the rafter framework, creating a solid roof deck. Use ample fasteners and ensure proper penetration.
- Roofing Felt Application: Lay down roofing felt, overlapping sheets for maximum waterproofing. This protects the plywood and creates a base for the final roofing.
- Roofing Installation: Install your chosen roofing material, following the manufacturer’s instructions. Ensure tight seals to prevent leaks.
Pros: Low cost, fast construction, utilizes existing structures. Cons: Limited space, less weather protection than a freestanding shed, reliance on existing structure's strength.
The Standalone Stronghold: A Durable, Customizable Shed
For maximum protection and greater storage capacity, a freestanding shed offers superior versatility and longevity. It demands more time and skill, but yields a robust, customizable shelter.
Materials List:
- Pressure-treated lumber (4x4 corner posts, lumber for walls and roof framing)
- Plywood or metal roofing sheets (metal offers superior durability)
- Concrete mix (for setting posts)
- Galvanized fasteners
- Building wrap (for weather protection)
- Optional: Treated lumber for siding, doors, and windows
Step-by-Step Instructions:
- Planning and Permits: Develop detailed plans including dimensions, materials, and placement of doors and windows. Check local building codes and obtain necessary permits to avoid delays.
- Foundation Construction: Dig post holes for corner posts, ensuring levelness and proper spacing. Pour concrete footings, allowing complete curing before proceeding.
- Wall Framing: Construct wall frames using pressure-treated lumber, ensuring square corners and proper bracing. Strong corners are crucial for stability.
- Roof Construction: Erect the roof structure, starting with ridge beams, then installing rafters and purlins (horizontal roof supports). Ensure proper pitch and slope for water runoff.
- Roof Sheathing: Cover the roof frame with chosen roofing sheets (plywood or metal), ensuring secure fastening and proper overlap.
- Roofing Installation: Apply roofing material, sealing all seams carefully. High-quality roofing protects your investment.
- Finishing: Add siding, a door, and windows, customizing to your needs. Consider features like shelves or workbenches.
Pros: Superior protection, greater storage, highly customizable, durable. Cons: More time-consuming, requires more materials and skill, higher initial cost, may require permits.
Choosing the Right Path: Lean-To or Freestanding?
The optimal shed depends on your individual needs, skills, and budget. The lean-to is a quick, affordable solution for minor protection of smaller tractors, while the freestanding shed provides superior protection, customization, and longevity, justifying its higher investment. Prioritize safety by wearing appropriate protective gear and seeking assistance if needed. Enjoy the process!